In my last article I showed you four techniques that artists use when painting with watercolor. The techniques were flat wash, graded wash, wet in wet, and wet in dry. Those four were the first ones I learned when I started out with the medium. You will most likely use these four techniques quite often. If you missed that article you can click here to read it.
Today I will give you three more watercolor techniques. I don’t use these techniques every time I paint, but I do use them on occasion. Their use depends on what I am trying to portray in my painting. I try to use these techniques in moderation.
More Watercolor Techniques:
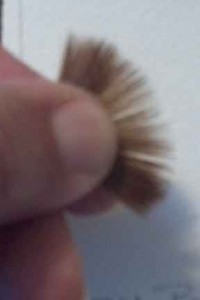
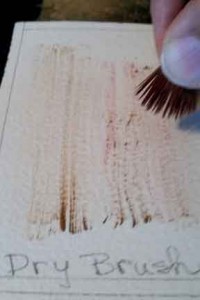
•Dry Brush – With this technique the artist dips a dry brush in paint and paints on dry paper. Because the brush is dry it makes the paint streak on the paper. You can fan the bristles out on the brush by spreading the bristles apart with your fingers like a fan brush. I barely touch my dry paintbrush to the paint.
I use this technique to give texture to a tree trunk or old rustic fence or barn. For instance, to create the look of old wood, first paint an area light gray using the wet in dry technique. When the gray is dry, use the dry brush technique with a darker color. This will create dark streaks of paint over the light gray which look like wood grain. I would use a dark brown, gray or even purple for the dry brush streaks.
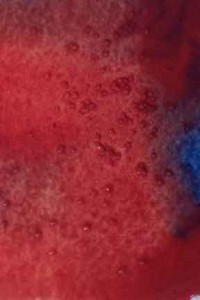
•Salt – When painting with the Wet in Wet Technique it is often fun to use salt. This technique is quite simple. You sprinkle a pinch of salt on an area in a painting that is wet.
You do not need to use salt on your whole painting. I have found that sometimes my students get carried away with the salt. Just remember, “Less is better.”The sprinkled salt absorbs the paint on the paper and leaves small starbursts in the paint. You have no control over what the salt will do. The paint must be shiny wet for the salt to do anything. Once you have placed salt on the painting you need to wait until it is dry. Brush the salt off the painting before putting any more paint on the paper.
You may have to practice this technique a few times to get it right. There is a fine line between the paint being too dry or too wet. If the paint is either of the two the salt will do nothing. But don’t give up. Let the painting dry, brush the salt off and paint on the paper again. Then sprinkle the salt once more. You will get the hang of it.
Some people use salt to create texture or little surprises in a background. Some use it to make stars or even the appearance of snow. Play around with it to see what it does for you.
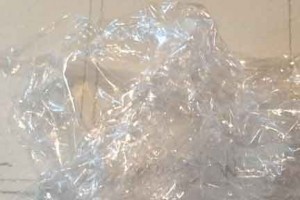
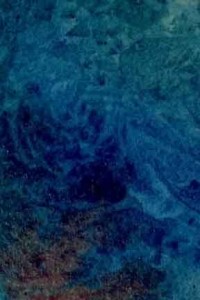
•Plastic Wrap – You can use any brand of plastic wrap to create interesting abstract designs in your paintings. I have used this technique to show texture, broken edges and interesting shapes in a background or a rock wall. Use your imagination or intuition to create interesting designs within your watercolors.
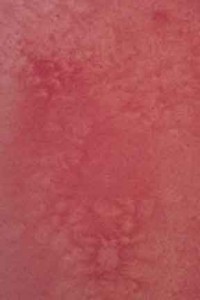
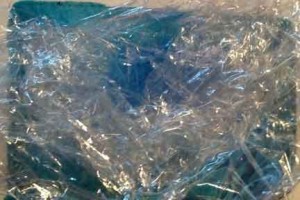
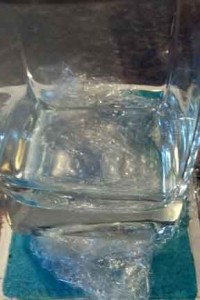
This technique is done by painting an area with paint and then placing crumpled plastic wrap on top of the wet paint. The plastic causes the paint to collect in certain areas which when dry creates interesting designs. The plastic needs to be held down in place so it does not move while the paint is wet. I used a glass to hold mine down. It helps to have a good amount of paint in the area you will place the plastic wrap on. If your paint is really light, you probably won’t be able to see much happening.
When the paint is dry remove the plastic wrap to discover a surprise. There is no way to control what the final result will be. Each time you use plastic wrap you will get a different result. It is fun to make small paintings with this technique and then trace around the designs with marker.
So now we have gone through seven watercolor techniques. Take some time to practice the techniques. You may want to make a page of the seven you have learned to save as a reference. Label the techniques so you will remember what they are called.
Next year, I will continue this series by giving you some more watercolor techniques. Hope you have fun trying them. Happy New Year!!!!! Please be safe. See you next year!!!!!
